Bathroom renovations
How to Clean New Bathroom Tiles: Expert Tips and Tricks
New bathroom tiles can make or break the look of your bathroom, and it’s essential to properly clean bathroom tiles to ensure they continue to look their best. Cleaning newly installed tile floors or wall tiles requires a little know-how to maintain the condition of the tile surface and grout lines.
Cleaning during the installation and drying is essential to remove any residue or marks, but aftercare is vital to maintain your tiles long-term. A simple and effective bathroom tile cleaning process can keep the tiles and tile grout looking their best for years and years.
Everyday household products used for cleaning bathroom tile floors or walls include sponges, a spray ttle, bottlesscrubbing pads, cloths, and chemical cleaners, such as bleach or disinfectant. Read on for tips and tricks to clean vanity, wall and floor tiles.
Materials Needed for Cleaning New Bathroom Tiles
Choosing the Right Cleaning Products
Choosing the right cleaning products is crucial to ensure your new bathroom tiles are cleaned without damaging them. It is essential to select products that are specifically designed for the type of tiles you have installed. For example, if you have natural stone tiles, you should avoid using acidic or abrasive cleaners as they can damage the surface of the tiles. Instead, use specific stone cleaning products. While glazed tiles are better suited to alkaline cleaners.When choosing your tiles or having them installed, you can get information from the seller, manufacturer or even the installer on the best cleaning products for the type of tiles you’re installing.
Essential Cleaning Tools
Apart from cleaning products, you will need essential cleaning tools to clean your new bathroom tiles effectively. Here are some of the critical cleaning tools you will need:
- Sponge: A soft sponge is ideal for cleaning bathroom tiles as it is gentle on the surface and can easily reach tight spaces.
- Bucket: A bucket is necessary to mix the cleaning solution and rinse the sponge after cleaning.
- Cloth: A clean cloth helps wipe excess water after cleaning.
- Gloves: Gloves are essential to protect your hands from harsh chemicals in cleaning products.
- Dry Mop: After washing, a dry mop can buff out high gloss porcelain tiles to avoid water spots.
Having these essential cleaning tools and choosing the right cleaning products ensures that your new bathroom tiles are cleaned effectively without causing any damage.
Step by Step Guide to Clean New Bathroom Tiles
When it comes to cleaning new bathroom tiles, it’s important to follow the right steps to ensure that they stay looking their best for years to come. Here’s a step by step guide to cleaning new bathroom tiles:
Initial Cleaning
Before you start cleaning your new bathroom tiles, it’s important to remove any loose debris or dirt. You can do this using a soft bristle broom or a vacuum cleaner. Be sure to use soft bristles to avoid scratching the tiles.
Applying the Cleaning Solution
Once you’ve removed any loose debris, it’s time to apply the cleaning solution. You can use several different cleaning solutions, including a mixture of baking soda and liquid soap, vinegar and water, or a commercial tile cleaner.
To apply the cleaning solution, spray or pour it onto the tiles and let it sit for a few minutes. Be sure to follow the manufacturer’s instructions for your cleaning solution.
Scrubbing the Tiles
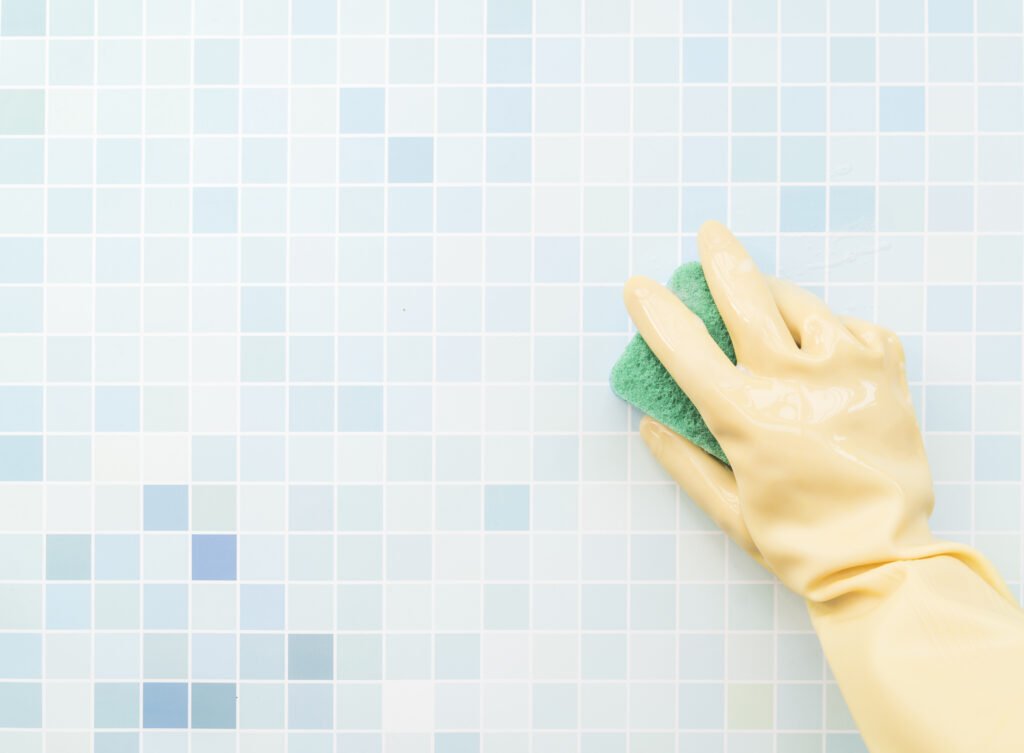
After the cleaning solution has had time to work, it’s time to scrub the tiles. Use a nylon scrubbing pad or a soft-bristled brush to scrub the tiles gently. Be sure to avoid using abrasive scrubbers or brushes, as these can scratch the tiles.
If you’re having trouble removing any stubborn stains or residue, you can try using a little more pressure or a stronger cleaning solution. Just be sure to test any new cleaning solution on a small, inconspicuous area of the tiles first to make sure it doesn’t damage them.

Rinsing and Drying
Once you’ve finished scrubbing the tiles, it’s time to rinse them off. Use clean water and a clean sponge or cloth to rinse any remaining cleaning solution. Be sure to rinse the tiles thoroughly to avoid leaving any residue behind.Finally, it’s time to dry the tiles. Use a clean, dry cloth or towel to dry the tiles thoroughly. Be sure to dry the tiles completely to avoid leaving water spots or streaks behind.
Following these simple steps, you can keep your new bathroom tiles looking their best for years.
Maintaining the Cleanliness of Your Bathroom Tiles
Regular Cleaning
Establishing a regular cleaning routine is essential to keep your new bathroom tiles looking clean and fresh. A soft cloth or mop with warm, soapy water is usually sufficient for a regular clean. Wipe down the tiles to remove any surface dirt or minor scuffs, and maintain the luxe surface finish. Avoid using abrasive cleaners or harsh chemicals, which can damage the tiles and grout.
Preventing Mould and Mildew
Prevention is vital when it comes to mould and mildew on bathroom tiles. Keeping the bathroom as dry as possible is essential, so use fans and keep windows open while steam is in the bathroom. Treat minor stains as they appear using an old towel or a squeegee to run over the bathroom tiles.
If you notice any mould or mildew, use a solution of equal parts water and vinegar to remove it. Apply the solution to the affected area and let it sit for 15-20 minutes before wiping it away with a soft cloth.
Removing Stubborn Stains
If you have stubborn stains on your bathroom tiles, there are a few things you can try. For adhesive mortar stains, clean gradually as you lay down the tiles to avoid staining.
For general stains, use a nylon scrubbing pad with warm water to scrub the tiles. If the residue doesn’t scrub off fast, use some more pressure. For tougher stains, try using a mixture of baking soda and water to create a paste. Apply the paste to the stain, let it sit for 5-10 minutes, then scrub with a nylon scrubbing pad and warm water.
Dealing with Discolouration
Discolouration can occur on bathroom tiles over time due to the build-up of dirt and grime. To prevent discolouration, establish a regular cleaning routine and avoid using abrasive cleaners or harsh chemicals. If you notice discolouration, try using a mixture of equal parts water and vinegar to remove it. Apply the solution to the affected area and let it sit for 15-20 minutes before wiping it away with a soft cloth. If the discolouration persists, consider hiring a professional cleaner to deep clean your bathroom tiles.
Key Takeaways
- Proper cleaning and maintenance are crucial for new bathroom tiles to retain their appearance.
- Use the correct materials and cleaning products tailored to your tile type to avoid damage.
- Follow a step-by-step cleaning guide: initial debris removal, apply cleaning solution, scrub tiles gently, rinse and dry thoroughly.
- Regular cleaning, mold prevention, and stain removal are essential for long-term upkeep.
- Addressing discolouration involves regular maintenance and possibly professional cleaning for persistent issues.
Looking for bathroom renovation experts? Get in touch with our team!
At Hunter Bathroom Renovations, our specialists will assist you in many ways, from material selection to professional paint application. Book your free at-home consultation – contact us today!
Share
Jarrod Adnum
Jarrod Adnum is the founder of Hunter Bathroom Renovations. He is proud to lead an experienced team and support staff that are experts in their field. All staff ensure you are getting the best solutions and service for your bathroom.

